Micronet allows you to create a temporary item in the Inventory master file, which can then be selected by users during transaction processing. Alternatively, users with the appropriate access can create temporary items during transaction processing, e.g. purchase order creation and invoice creation.
Micronet displays the Item File Update screen.
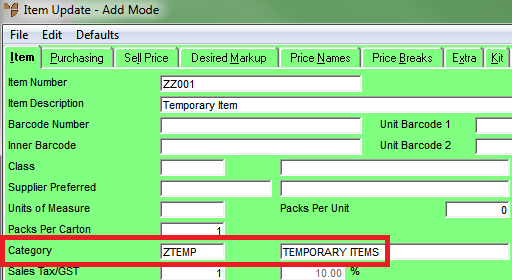
The screen title changes from Update Mode to Add Mode.
This is a mandatory field. When you press Enter in this field, Micronet displays a selection screen listing the available categories. Select the category with the category type of “Temporary Item”.
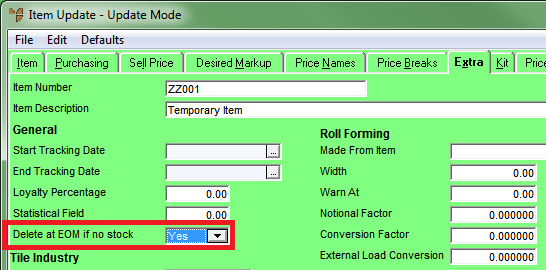
Select the Extra tab.
Set the Delete at EOM if no stock field.
This controls whether the item will be removed at EOM after the number of days set in the Days to Retain Temporary Items field on the Inventory Configuration screen. If set to Yes, the item will be removed. If set to No, it will be retained.